The Steps to Create a Terrain Around Your House
Switch to the 2D View
All the terrain work is usually done in 2D view, whereas the 3D view is used mostly for previewing the results. So, to start working you need to switch to the 2D view.
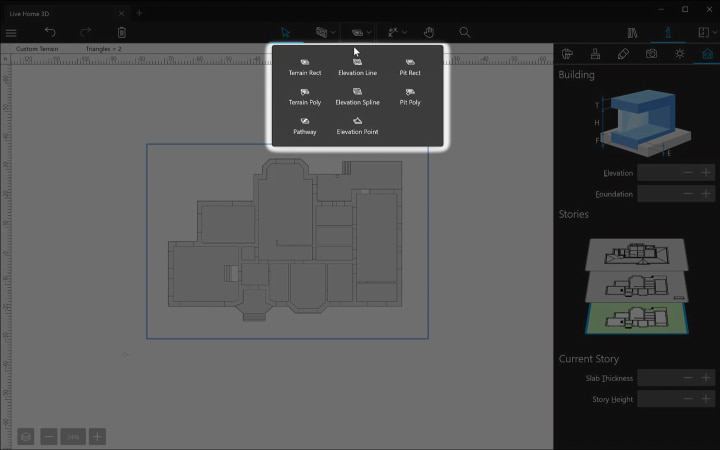
Click the “Site” Icon
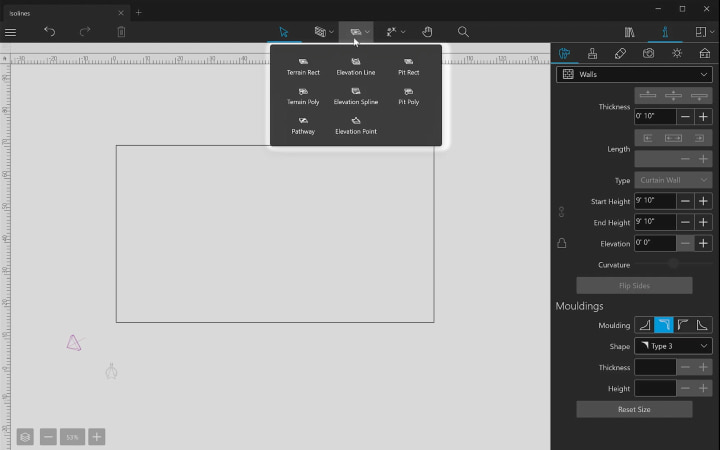
The terrain editing tools can be found under the “Site” icon. As you can see, only the Terrain Rectangular and Terrain Polygonal tools are active at the moment. Let’s see what they do and how the rest of the tools can be activated and utilized.

Switch to Site Level
If you select one of the terrain tools, for example the Terrain Rectangular tool, a dialog box appears with the notice that it is necessary to switch to the Site level for editing landscapes around the house.
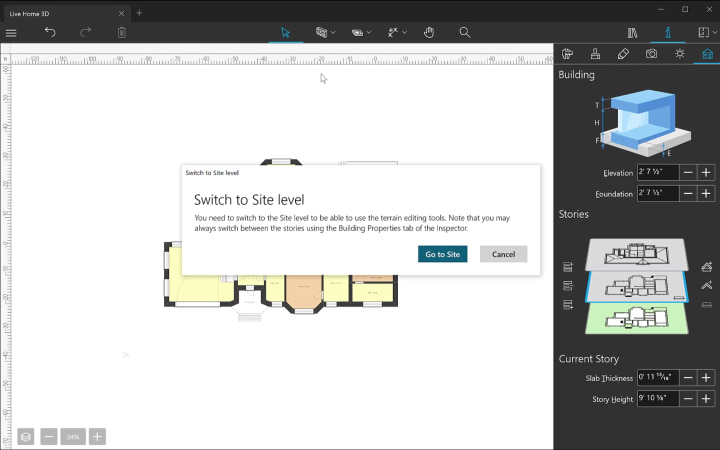
The house plan view then changes to outline, and now you can add terrain elements.
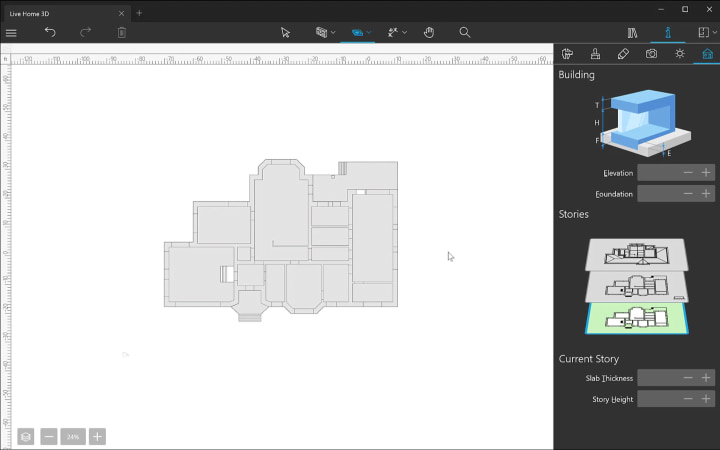
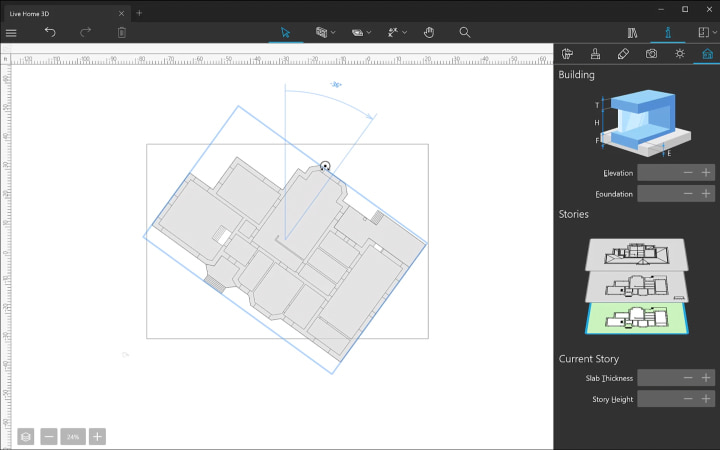
Note that, if you select the house on Site level, you may move it to any position, as well as rotate it using the special handle, but we won’t need this at the moment.
Activate the Terrain Rectangular Tool
Activate the Terrain Rectangular tool by clicking on it in the Toolbar on top of the workspace to set the area where landscape modeling work will take place. As you can see, once the terrain area is set, the rest of the tools immediately become unlocked in the drop-down menu.
By double-clicking on the Terrain contour, you can access the editing mode and modify its size and shape. We will stick with a simple rectangle for now.

If you switch to the 3D view, you will see that the terrain is actually a flat surface at the moment. This happens because the points that form the terrain contour have not yet been assigned an elevation.
Assign Elevations
To add an elevation, select the Terrain Contour tool, and open the Object Properties tab of the Inspector. This is where we will add elevation for terrain contour points. For example, to create a simple slope inclined from right to left, you need to assign elevation to points 1 and 4 (e.g., 2 feet).
The terrain contour can have as many points as you need, and each of them can have different elevations. In real life, the terrain rarely has such a level surface; usually, it has some bumps and depressions.

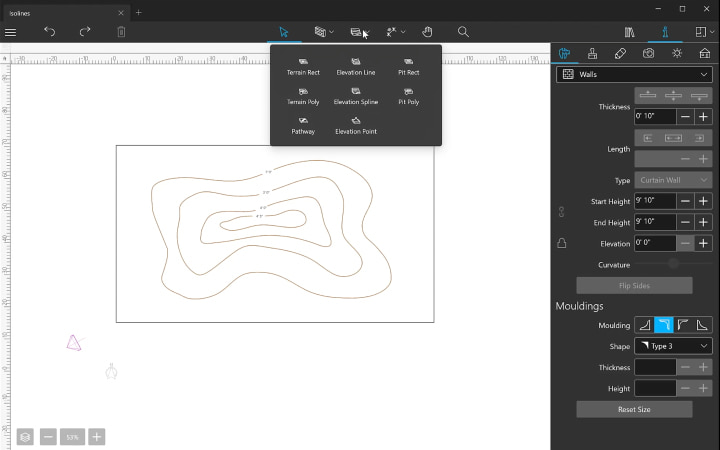
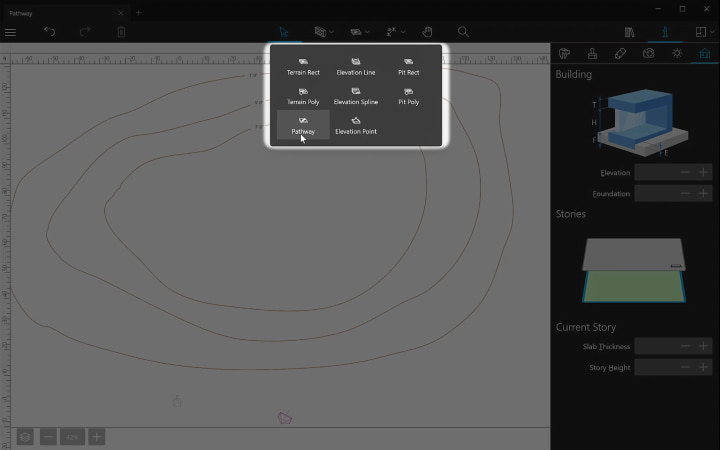
Add Isolines
The landscape around your house can be presented as a number of isolines, which are lines drawn on a map connecting points with the same height. Depending on the isolines’ proximity and their values, we get a clear picture of what the terrain around the house looks like. Isolines representation influences whether there will be a steep slope or flat ground.
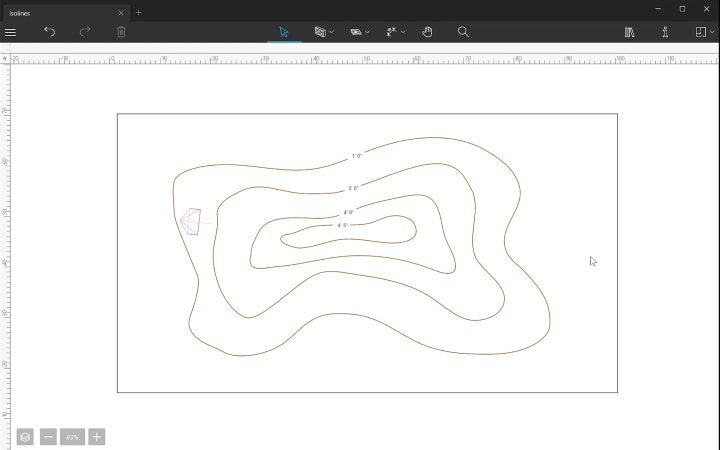
To draw such lines, you can use any or all of these tools: Elevation Line, Elevation Spline and Elevation Point.
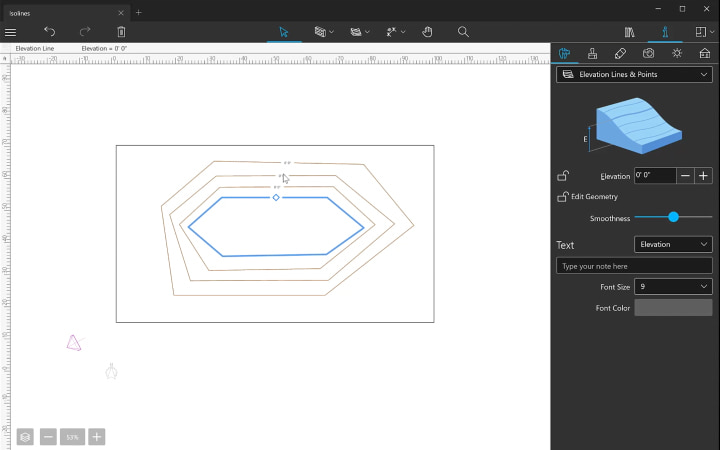
The Elevation Line Tool
The Elevation Line tool allows you to create straight isolines. After selecting this tool, click several times to create an enclosed contour and press Escape or double-click in the end. Isoline elevation can be controlled via the Object Properties tab of the Inspector.
The font size for the isoline value on the 2D floor plan can be changed using the 2D Properties tab of the Inspector.
As with other enclosed contours in Live Home 3D, by double-clicking on the isoline, we enter the editing mode to adjust corner points and segment roundness.
The Elevation Spline Tool
The Elevation Spline tool provides more freedom when it comes to isoline drawing. It can be compared with the freehand drawing in vector design apps and is ideal for tracing isolines from the imported terrain map. In this way, you can achieve an identical copy of the landscape around your house. Of course, you can edit isoline contours and values at any time. It is recommended to avoid isoline crossing to create a smooth terrain.
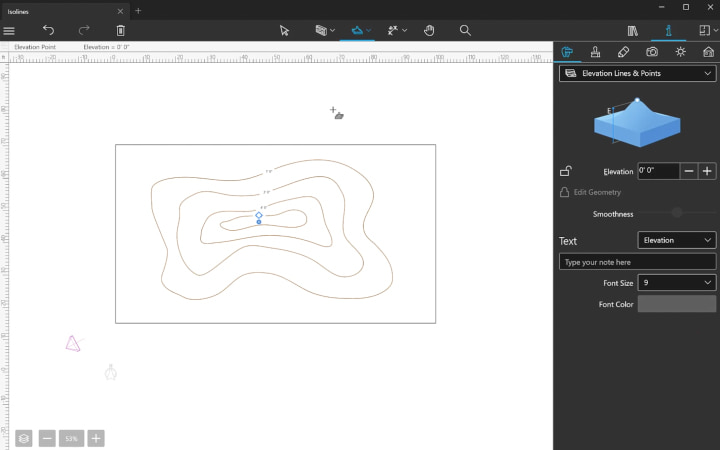
The Elevation Point Tool
Finally, we come to the Elevation Point tool, which is mostly used for adding peaks or depressions to terrain models.
The Pit Tool
The Pit tool is mostly used to add cutouts in the ground, such as garage access for houses on the hill.
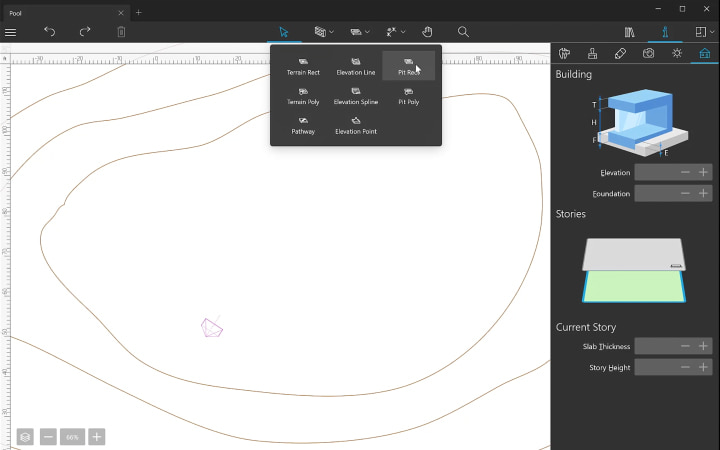
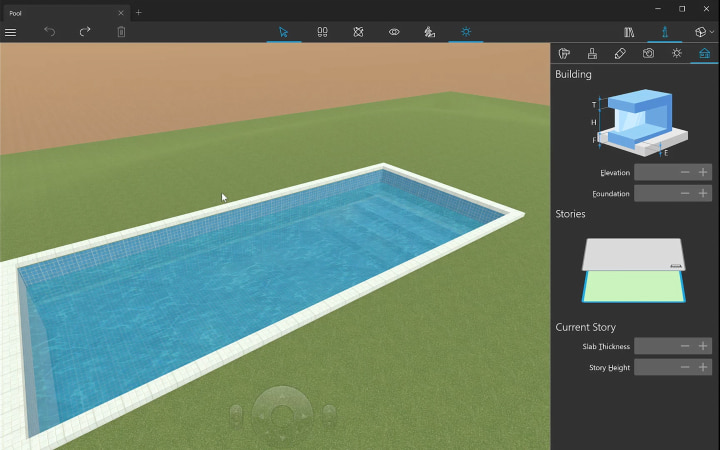
But, perhaps, the most frequent use for the Pit tool is to create swimming pools. To design a pool, you need to make a cutout in the ground.
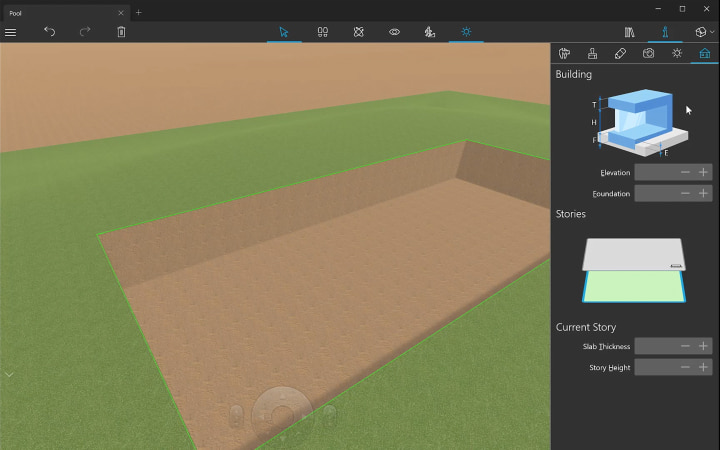
Then apply a material to each side accordingly, and add side elements and steps with the help of shapes or building blocks.
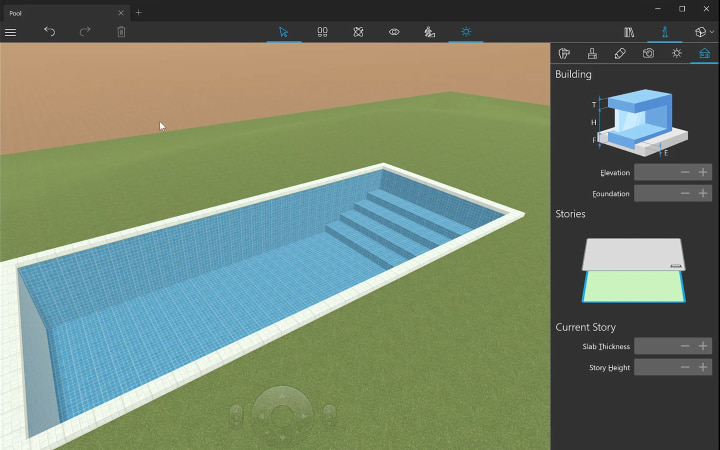
Finally, add a plain surface imitating water and apply the water material to it.
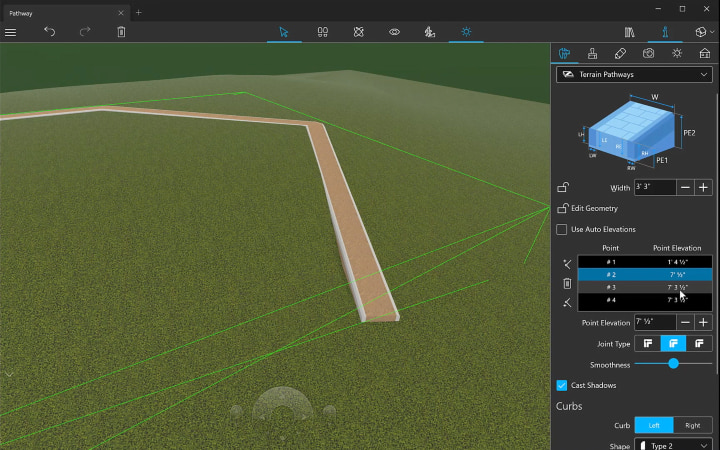
The Pathway Tool
Adding pathways as the final element of the design is quite fun. For adding a pathway, select the Pathway tool under the Site icon on the toolbar.
By default, the contour points that form a path have the “Use Auto Elevations” option enabled. This helps to add a path on the ground in a few clicks. More advanced and precise pathway creation will require you to manually set an elevation for each pathway point using the Object Properties tab.
That’s all the basics you’ll need for making a terrain in Live Home 3D.
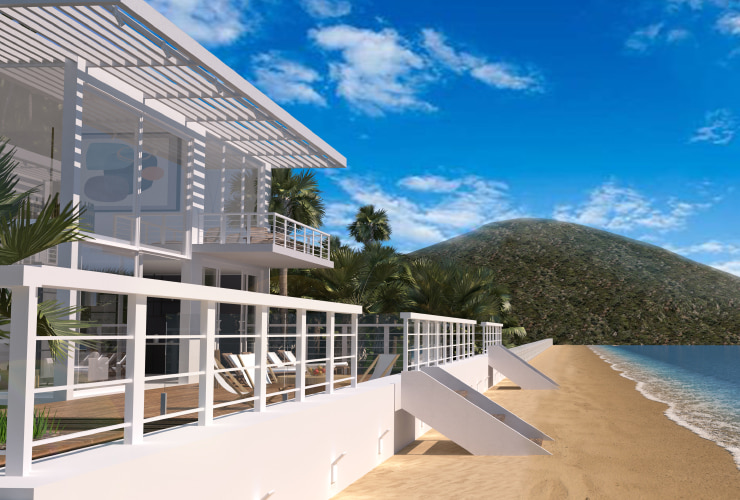
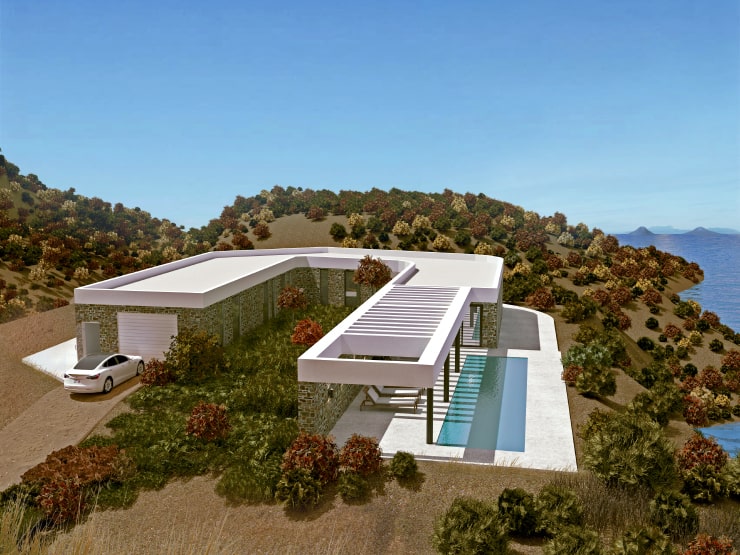
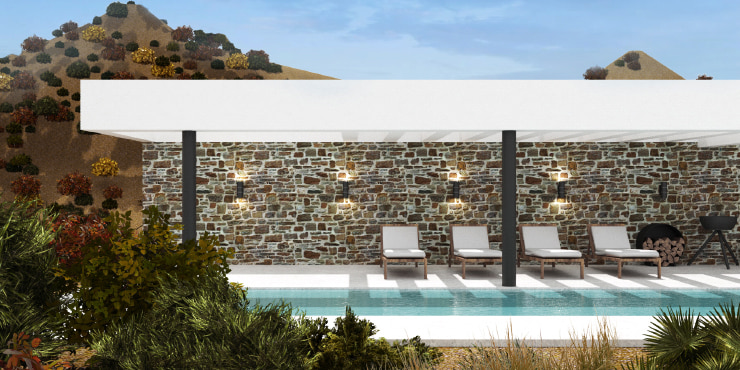
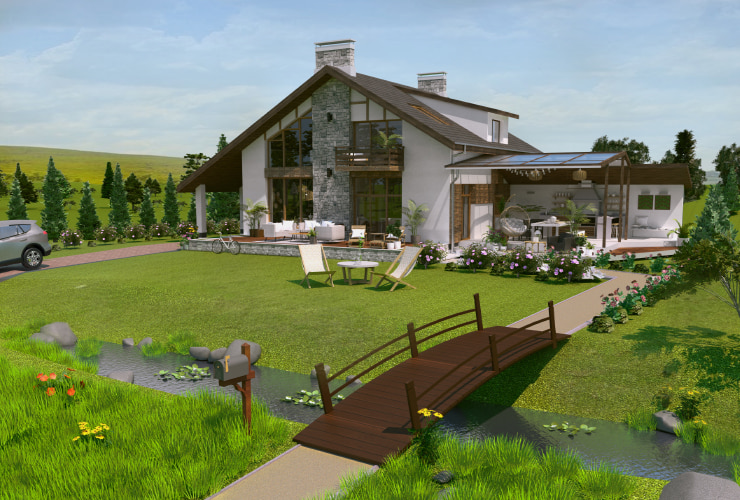
Look at some projects with complicated terrain made in Live Home 3D with the Pro Features unlocked and get inspired to create your own designs!