What is a Blueprint?
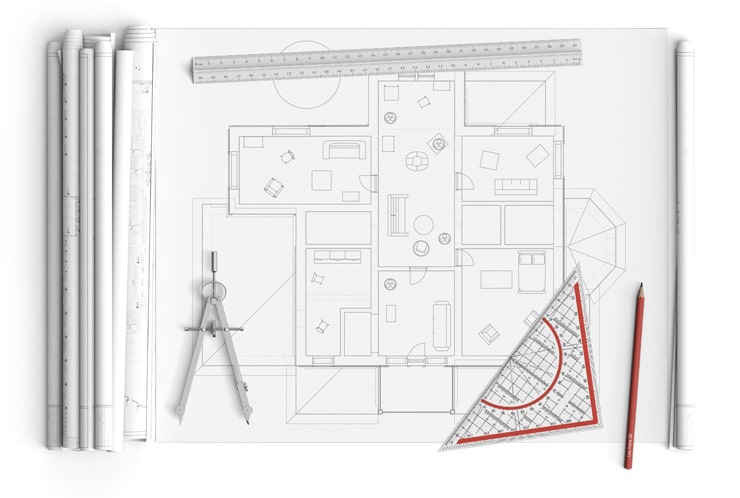
Initially, a blueprint was a photographic print in white on a blue background, or blue on a white background, primarily used for architects' plans, maps and mechanical schemes. It was introduced in 1842 and was printed on light-sensitive sheets.
Traditional blueprints are no longer used since the invention of cheaper printing methods and digital displays. Today, any professional floor plan of a building can be called a blueprint, though most of the time it has black or gray lines on a white background.
From a Blueprint to a Digital Floor Plan in Four Easy Steps
Import the Blueprint Image
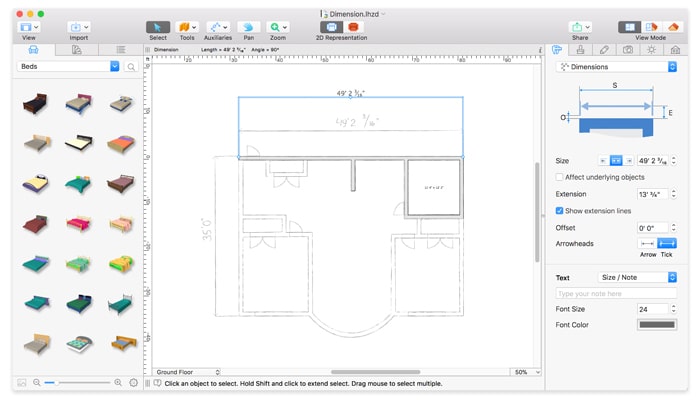
If you have a sketch of a floor plan or blueprint, import it to Live Home 3D as an image using drag & drop or through the Import menu. Most popular image formats are supported. The floor plan image will appear as the background in the 2D plan view.

Match the Project Scale
You need to match the project scale with the scale of your blueprint. For this, measure the length of one of the walls on your floor plan with the help of the Dimension tool, which can be found in the Auxiliaries menu in the toolbar. Next, activate the "Affect underlying objects" option for the Dimension tool in the Inspector, and then type the required length into the Size field. Now the floor plan and the project are perfectly matched.
Trace the Floor Plan
Finally, we are ready to trace the floor plan. Live Home 3D offers you the Room, Straight Wall and Arc Wall tools for convenient floor plan creation. Draw all walls and place furniture according to the imported floor plan.

The Floor Plan is Ready, Time for 3D
Now, when you have the floor plan ready, you can immediately switch to the 3D view to have a look at your interior. The 3D view is ideal for design purposes, experimenting with diverse colors, materials and furniture objects. And, you also get multiple sharing options when using Live Home 3D.

