The Library of Objects
The Object Library Panel
The object library can be found in the Library panel. To open the panel when it is hidden, use the Library button ![]() in the toolbar.
in the toolbar.
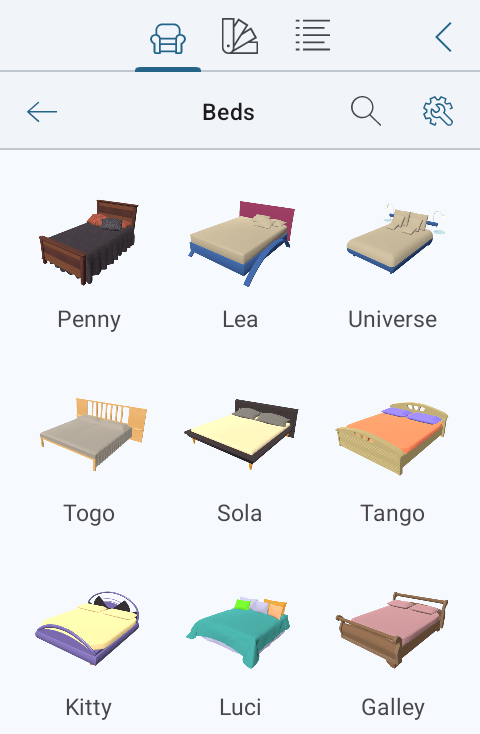
Objects in the library are grouped into categories by types. To open the contents of a category, tap on its icon. The Favorites category can be used to gather objects that you are currently working with.

Object's Popup Menu
To open the popup menu, long-press on an object. The menu includes these commands:
- Copy – copy an object to the Clipboard.
- Object Details – display details of an object. This panel is described in the Object Information in the Library section.
- Add to Favorites – add a copy of an object to the Favorites category.
- Export Library Archive - export selected object(s).
- Import Library Archive - import objects from a package created by the Export command.
- Select All - select all objects.
Objects added to the library by the user can also have:
- Cut – remove a selected object and place its copy to the Clipboard.
- Delete – delete a selected object.
When an object in your project is selected, the popup menu in the Library can show two more commands:
- Substitute with Selection in Project – replace an object selected in the library with an object selected in the project.
- Substitute Selection in Project – replace an object selected in the project with an object selected in the library.
Actions Menu
To open the actions menu, tap on a gear icon at the top of the panel.
The basic menu includes these commands:
- Edit – select one or multiple objects or categories. Once those are selected, you can open the menu again in order to apply some actions to the selected items.
- Create Category - create a new category. If any category is currently open, the new category will appear inside it.
- Import Library Archive - import objects from a package created by the Export command.
- Select All - select all objects.
- Paste – paste an object from the Clipboard to the open category.
- Undo – cancel the last operation you performed.
- Redo – reverse the last Undo operation.
Extra commands that become available when one or several objects are selected:
- Done - exit the selection mode.
- Add to Favorites – add a copy of an object to the Favorites category.
- Export Library Archive – export selected object(s).
- Substitute with Selection in Project – replace an object selected in the library with an object selected in the project.
- Substitute Selection in Project – replace an object selected in the project with an object selected in the library.
- Object Details – display details of an object. This panel is described in the Object Information in the Library section.
- Cut – remove a selected object and place its copy to the Clipboard.
- Copy – copy a selected object to the Clipboard.
- Delete – delete a selected object.
- Paste – paste an object from the Clipboard into the open category.
Customizing the Object Library
You can use the Create Category and Delete commands from the actions menu to add and remove object categories. The standard categories cannot be removed.
Other commands from the menu let you work with individual objects. Using the Cut, Copy and Paste commands, you can duplicate objects or move them from one category to another. The Delete command can remove user's objects. Any standard object cannot be deleted or moved to another category.
Adding New Objects to the Library
Objects imported into your project can be stored in the library. To add an object from your project to the library:
- Open a category in the library where you would like the object to be stored. It is recommended that you add new objects to a custom category.
- Long-press on an object in your project and choose Add to Library from the context menu.
An alternative way is to copy an object from the project and paste it to an appropriate category in the library.
Updating an Object in the Library
After editing an object in your project, or after applying new materials to it, you may want to replace the old object in the library with its new version. In fact, you can replace an object with an absolutely different one. The standard objects cannot be updated in this way.
To replace an object in the library with an object in the project, select the object in your project. Then long-press on the object in the library and choose Substitute with Selection in Project from the context menu.
Exporting and Importing User's Objects
One or multiple objects, that you added to the library, can be exported as a *.lhzl file. This file can be imported on the same or another device in order to add items that are inside it to the library.
To export, choose Edit in the actions menu. Select one or multiple objects in the library. Then bring up the actions menu again and choose Export Library Archive.
You cannot export objects of the standard or any additional library.
To import, open the context menu and choose Import Library Archive. After that, select a *.lhzl file.
Imported objects will be added to a category with the same name as one in which those objects were originally located. The respective category will be created automatically if it is not present in your library.