Working with Projects
Project Settings
To open the project settings, tap the menu button and select Settings. Then choose the Project tab.

The File Format specifies the format that will be used to save your project. Available formats:
- Native Bundle (*.lh3d) - use it if you are going to work with your project on iOS device or on Mac. Saving projects in this format is faster than with Zipped Archive. That might be appreciable if the project is stored on the iCloud Drive.
- Zipped Archive (*.lhzd) - this format stores a project as a solid file. Use this format to share your project with Live Home 3D for Windows, or to store the project on a drive with a file system that is not native for iOS or Mac.
It is recommended that you choose a proper format as early as possible. However, it is possible to switch to another format any time you want.
Use the Project Scale to set up the scale of the 2D views at 100% zoom.
The Measurements menu lets you choose measurement units and the precision.
The Measurements > Units Precision section lists the precision options available for the current measurement unit (e.g. number of decimal digits). It is used to display dimensions of objects on the floor plan, in the Inspector and so on. The selected precision does not affect the accuracy of calculations.
The Measurements > Suppress Units option lets you show or hide measurement units in the 2D layout. You can see 40' 00.0" instead of 40' 00.0" ft., or 2.6 instead of 2.6 m.
The Extend Floor Labels option allows you to choose what kind of information should be displayed in floor labels.
The Default Story Height defines the default height for new stories.
The Default Story Names option lets you define whether to use the English way to name stories or another one. For example, the ground floor can be the same as the first floor in some languages.
The 2D Representation Style option defines whether to display objects on the floor plan as vector outlines or as images.
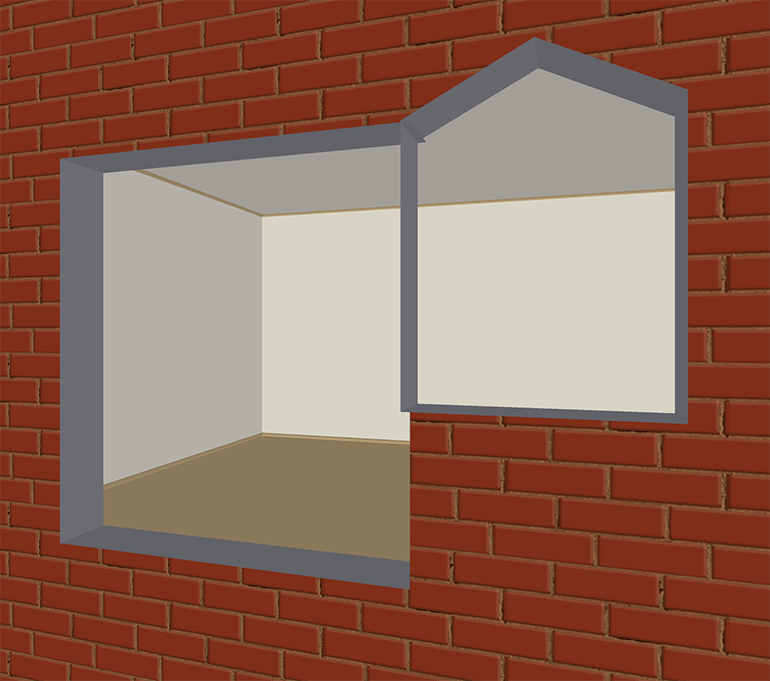
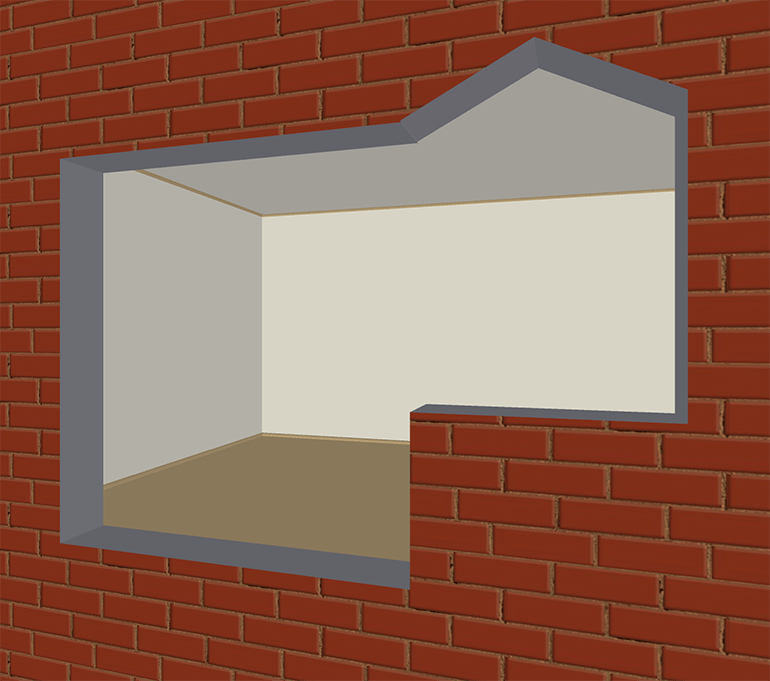
The Dynamic Subtraction option defines the way the app treats openings that intersect. When it is activated, the app tries to combine these openings. When it is deactivated, openings keep their original shape and size. The app's performance may decrease when the option is on.


The Save Supplied Content option lets you choose whether to save actual objects from the standard library in your project file, or save only links to these objects in the library. Whatever you choose, it will not affect the way you work with the project. Saving objects in the project guarantees that it will not be dependent on the version of the app (the contents of the library may change by a major update). On the other hand, projects that store only links to objects can take less disk space. Modified and imported objects used in the project will always be saved in the project.
The Revert to Default button restores the default settings.
The Save as Default button saves the current settings as the default for new projects.
Use the Author, Copyright and Description text fields to save the author's name, copyright information and project description.