Build an Elevated House
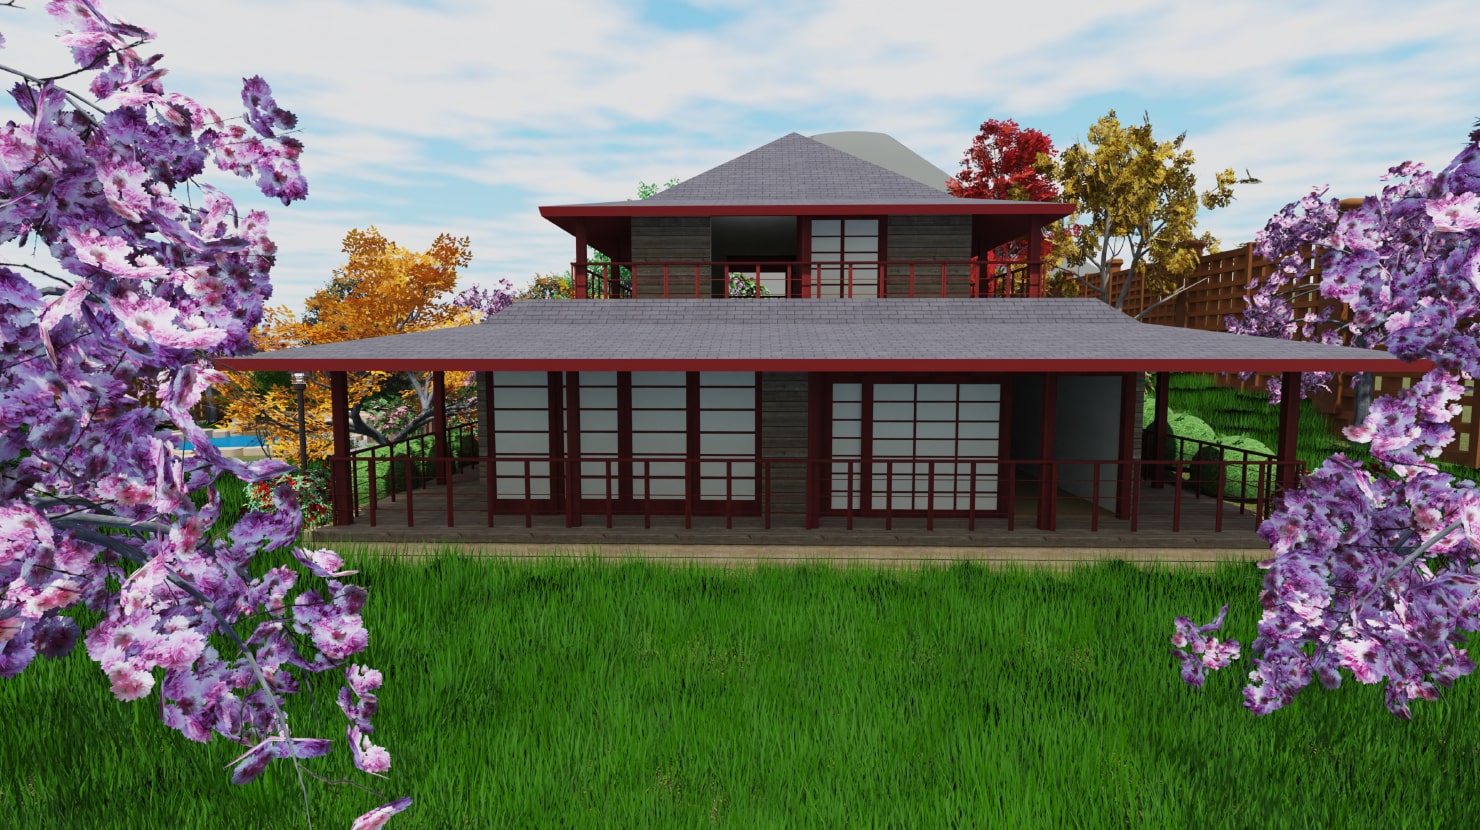
A traditional Japanese house is usually elevated 20 inches (50 cm) above the ground to keep it warm. Сentral heating is rather unusual, even in modern Japanese houses, so people normally use house heaters called yukadanbō ( 床暖房), widespread in the north of Japan, or other heating appliances.
In order to elevate the house above the ground in Live Home 3D, you need to adjust the parameters of the Elevation tool that can be found under the Building Properties tab of the Inspector. If you need to create a foundation for your house, the corresponding Foundation parameter can be found under the same tab in the Inspector. Both of these parameters can be changed at any point of making a project.

Working With Walls
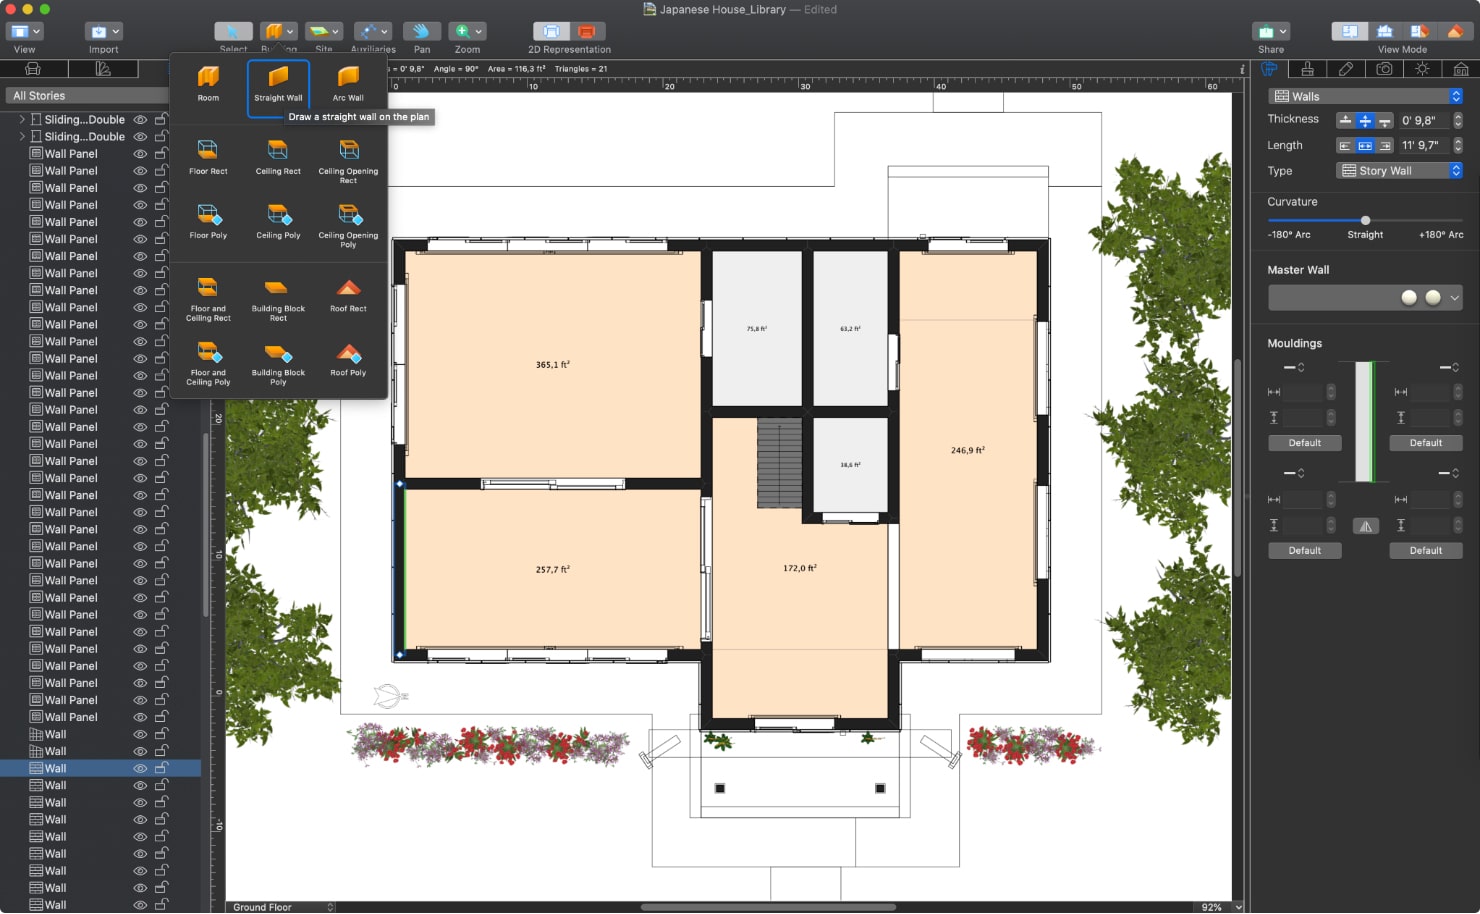
In both modern and traditional Japanese houses, walls tend to be quite thin [a 9.8 inches (25 cm) thick wall is used in our sample]. Traditional Japanese ceiling height used to be 7.2 ft (2.2 meters). Nowadays, the most typical ceiling height in Japan is 7.9 ft (2.4 meters), based on the average Japanese heights and air conditioning efficiency requirements.
To build the walls of a traditional Japanese house in Live Home 3D, you can use Story Wall type for standard walls, Loft Wall type for building mansard floors and Curtain Wall type for other unconventional solutions in your project. The default height of the wall is 9 feet 10.1 inches (3 meters) can be changed in the Current Story section of the Building Properties tab.
Pay attention to the thickness parameter in the Object Properties tab of the Inspector when creating the walls of the house.
Customize the Roof
The traditional Japanese house’s most distinguishable feature is its unique roof that carries both practical usefulness for the local climate and the Japanese’s inborn desire to avoid a dull look and beautify even the most common everyday objects.
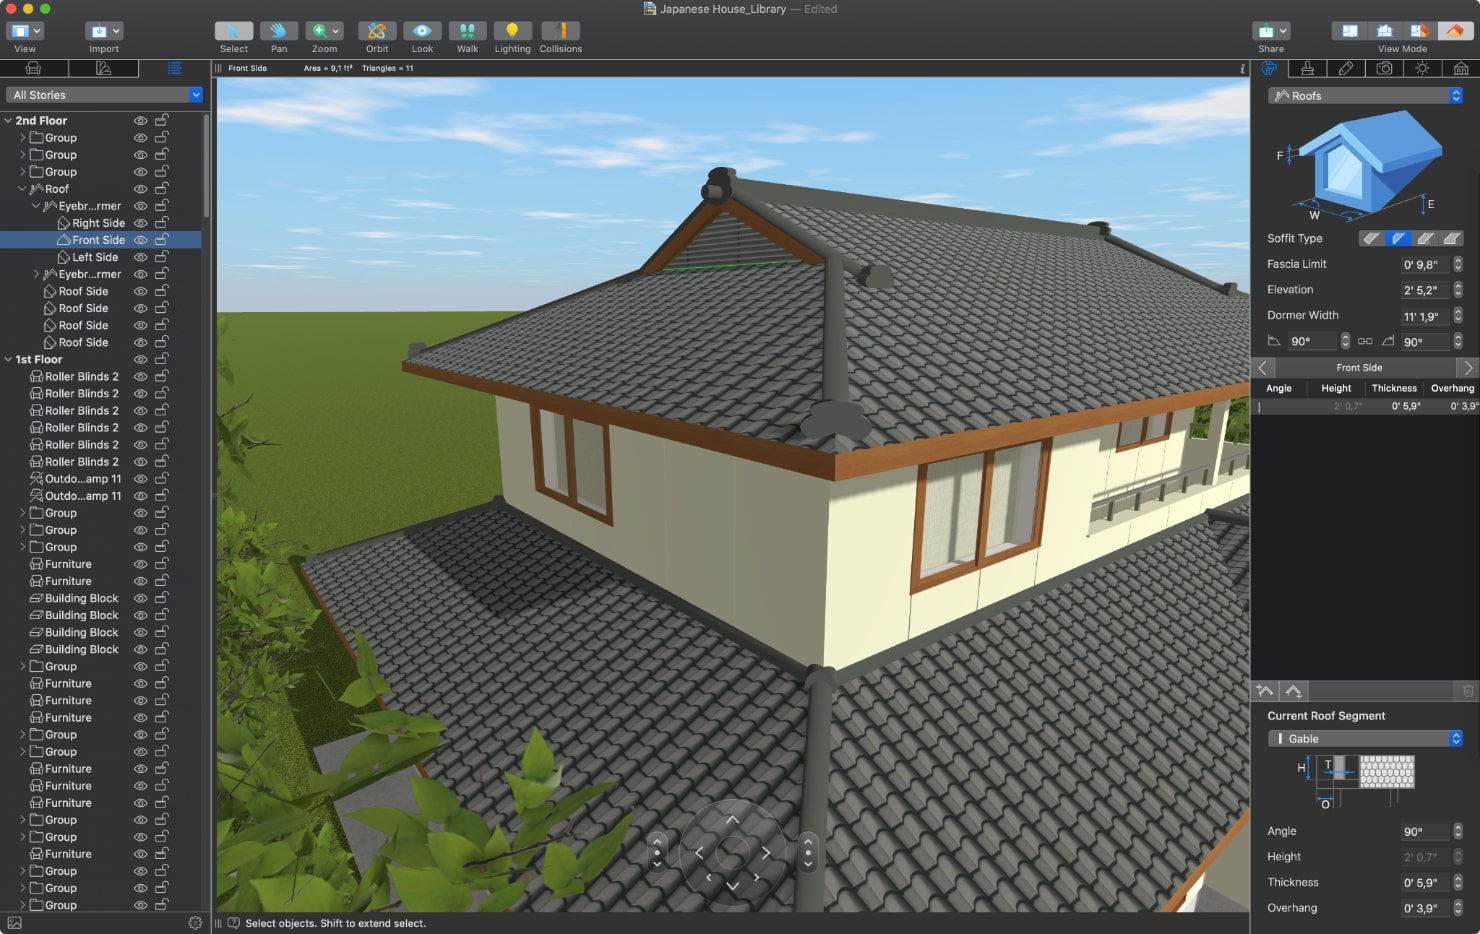
There are plenty of options for designing different types of roofs in Live Home 3D, alongside the ability to choose a certain default Roof Type for your project. To build a roof in the traditional Japanese style, you can choose the four-sided hip roof structure and customize its shape with the help of the Edit Contour command or by double clicking the selected roof and choosing Edit Roof Type.
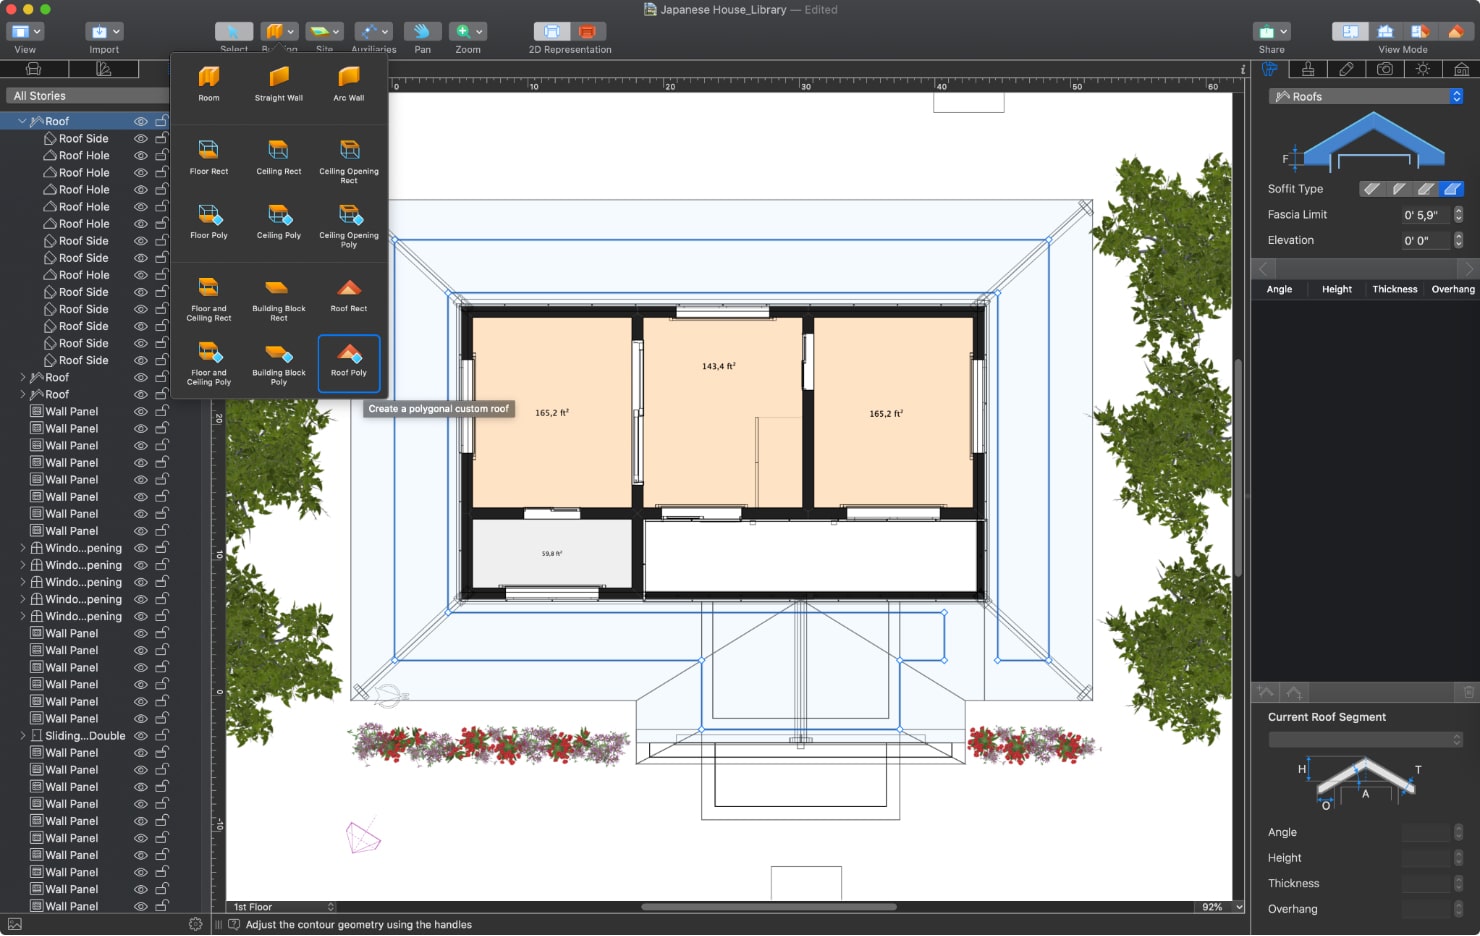
Make sure to enter the necessary slope angle of the roof’s slopes in the Object Properties tab (a 25º angle is used in our sample). In Live Home 3D, you can subdivide them into segments and set different angles for each segment. Furthermore, in the Current Roof Segment section, you can change the type of the whole roof or its separate segment: Slope, Gable, Hole. Adjusting the Overhang parameter will also help you achieve the authentic look.
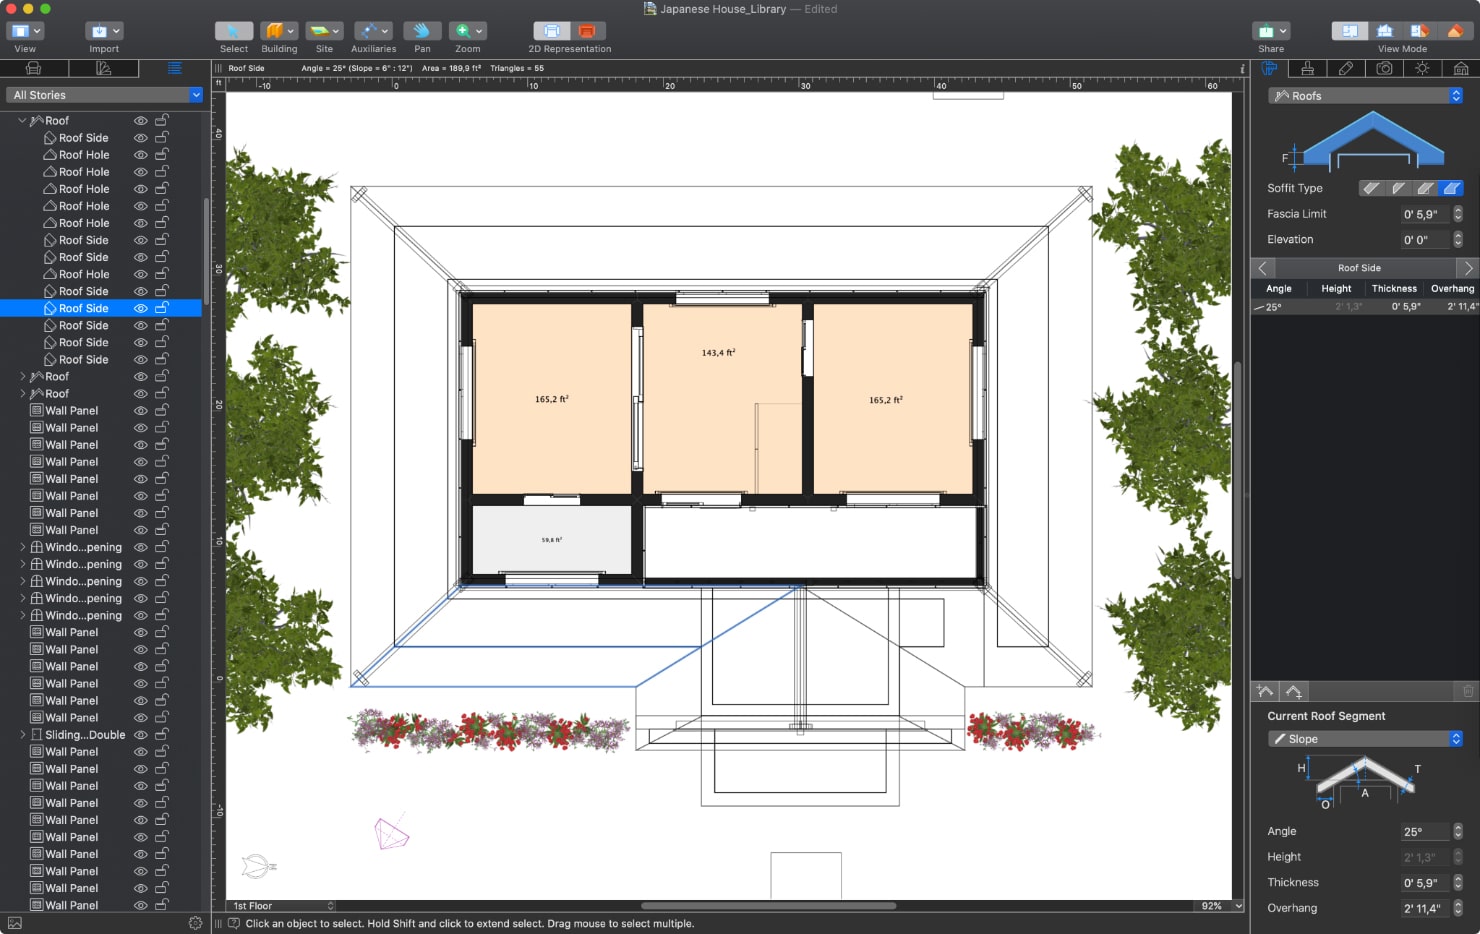
The upper floor roof of the traditional Japanese house can be created by combining the custom roof and the appropriate object from the Dormers category in the Library (this path was used in our sample project). However, Live Home 3D offers various ways to achieve the necessary result. For example, you can use the roof segmentation solution mentioned in the previous paragraph: select a certain slope, tap Add roof side segment above selected and choose Gable type for the upper segment.
The Roof Rect and Roof Poly tools can be used multiple times to create multi-level roofs. Remember, though, that roofs of traditional Japanese houses tend to have straight slopes without curved edges.
Design a Genkan
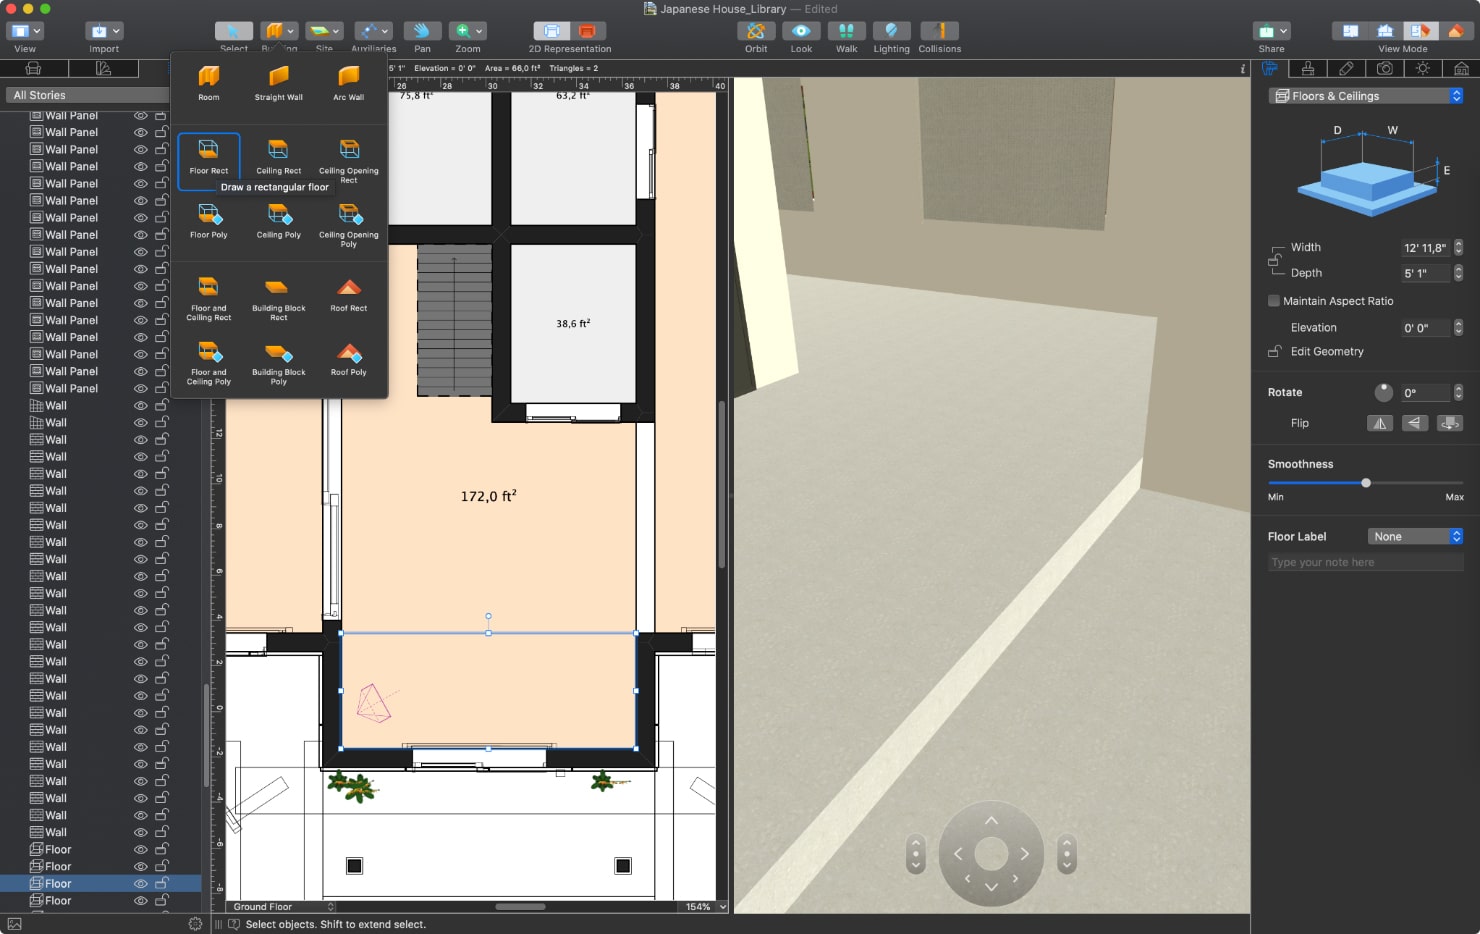
Now let’s consider the essential details of a Japanese house. Genkan (玄関) is an area in front of the main door that is separated from the general living space with a step. It is designed to house the shoes that you remove before stepping into the living area. This is an old Japanese tradition that is meant to keep the house clean. To recreate genkan in Live Home 3D, you can use the custom floor tools—Floor Rect and Floor Poly. Another option is constructing a genkan with the help of Building Blocks.
Create Shōji
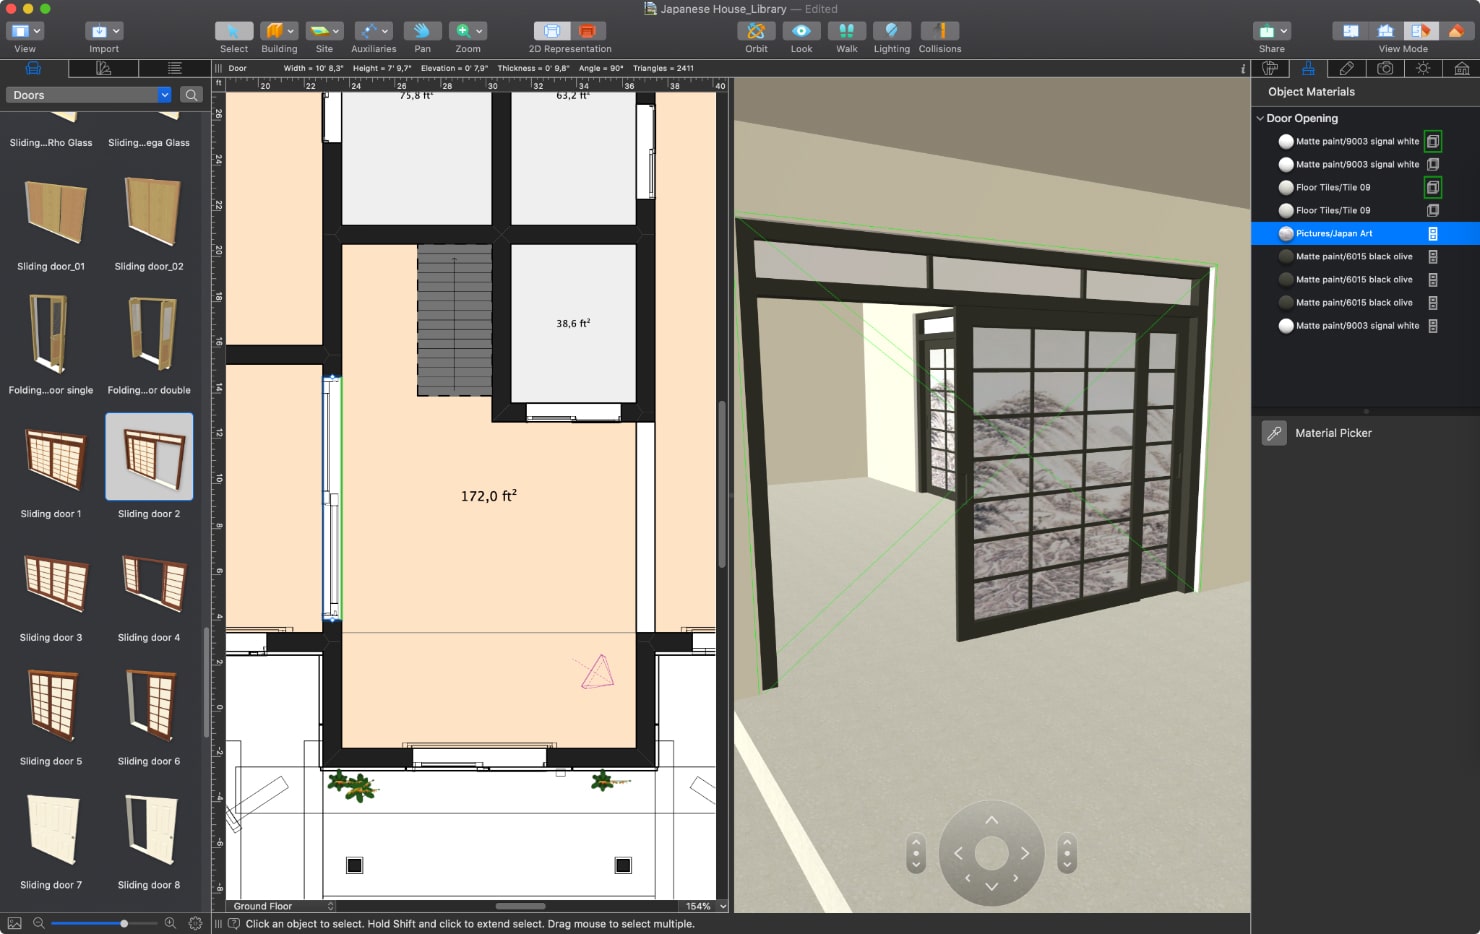
Fusuma is a lightweight, sliding, traditional Japanese door that consists of a wooden frame with paper covers glued to it on both sides. Another type of traditional door (used in our sample project) is shōji (障子)—a slatted frame with its units also covered with paper. Paintings on such doors are not uncommon.
The Object Library of Live Home 3D contains several types of sliding doors, including shōji. It’s easy to add those to your project and customize the door’s look with some of the large variety of the Object Materials.
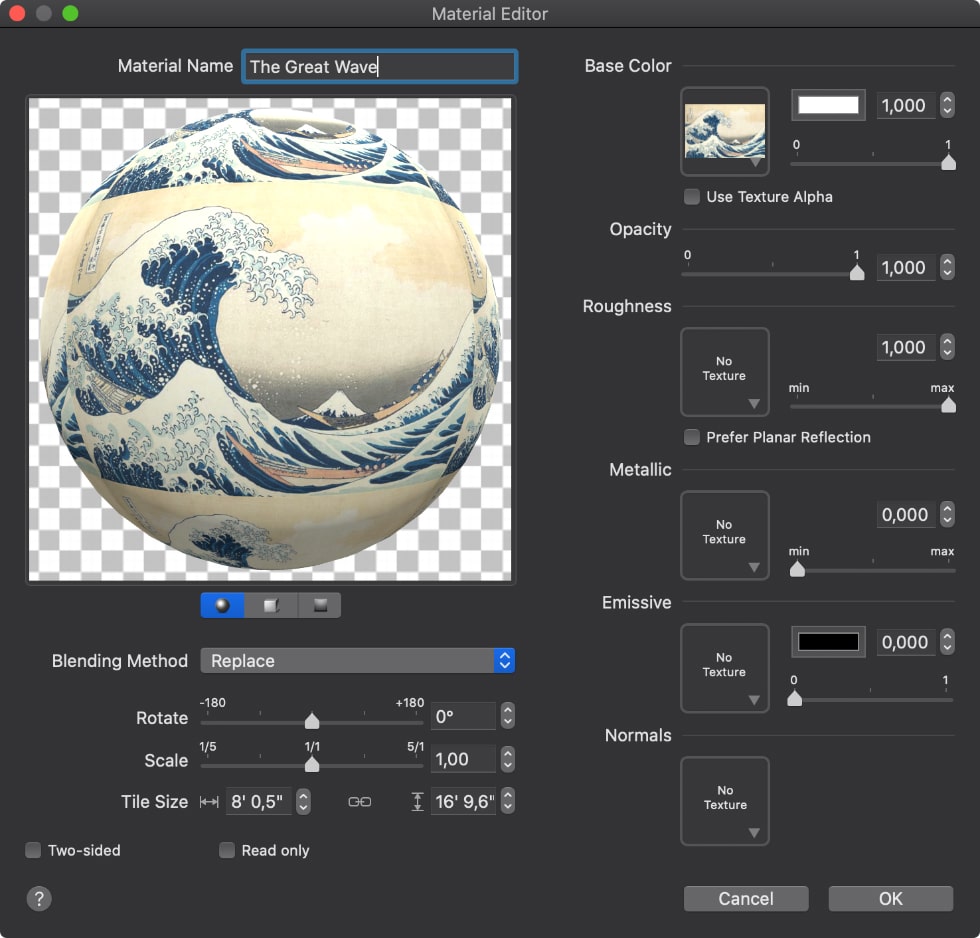
A unique material can be easily added to the project—the Material Editor provides you with the necessary tools to create it. Furthermore, you can take a picture of the necessary material that you spotted in a store and easily import it into Live Home 3D.
Decorate Facade With Panels
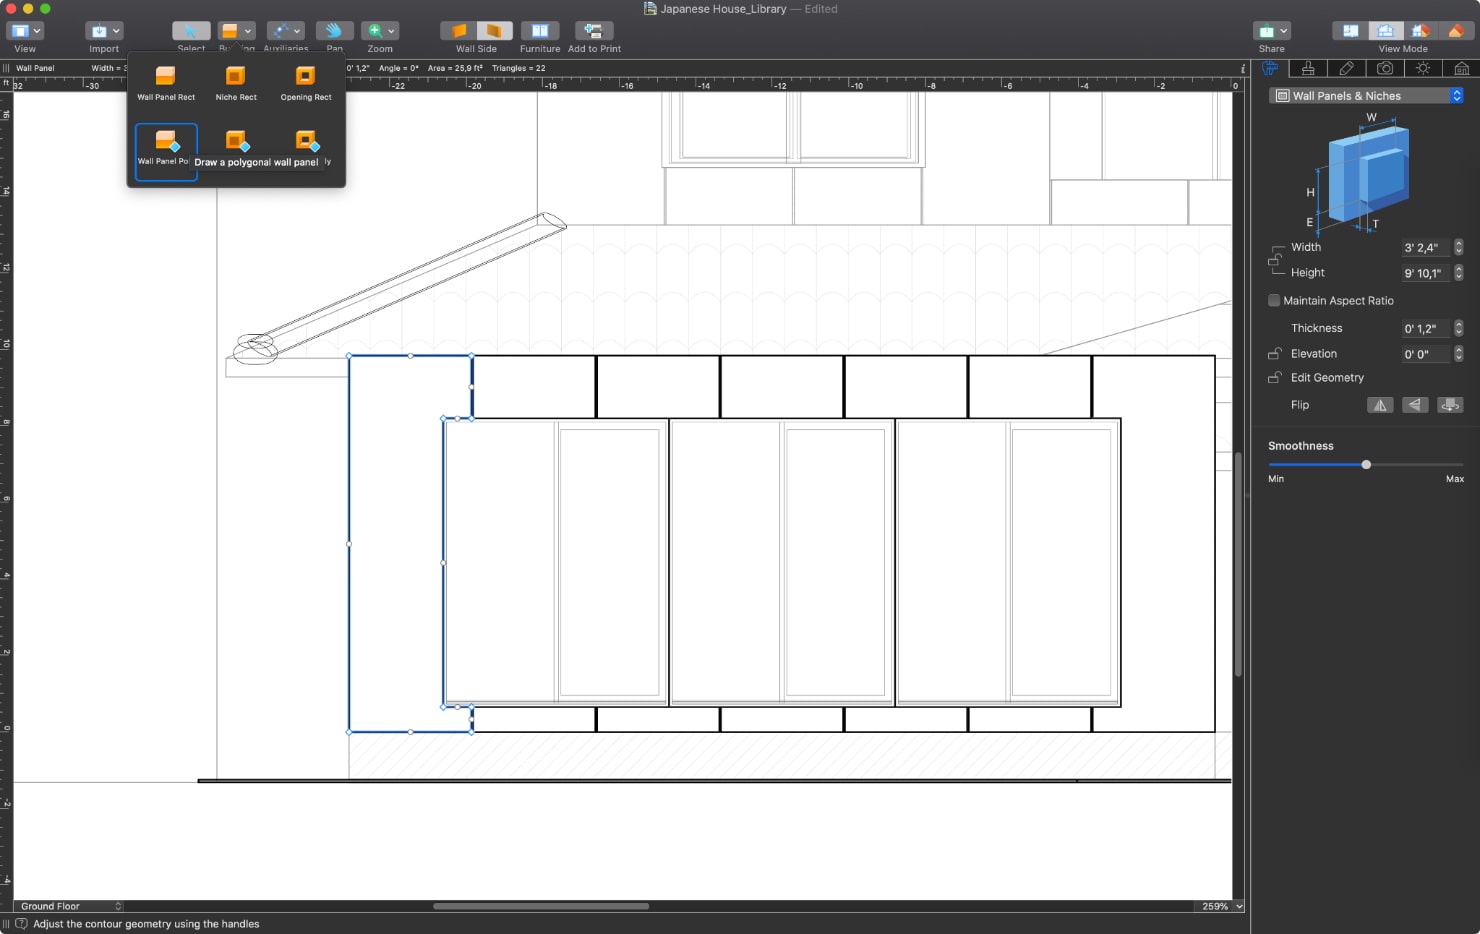
The final step of designing a traditional Japanese house is veneering the facade of the building with panels. The simplest way is to pick a suitable material for the walls from the Library. However, three-dimensional panels will give the project an authentic look. These panels serve not only for decorative purposes, but they warm the facades of the building as well. The tools that are going to help you create three-dimensional panels are Wall Panel Rect and Wall Panel Poly. The rectangular panel can be changed to polygonal if you tap Edit Contour in the context menu. Now you can transform the flat panel into a three-dimensional one by adjusting the Thickness parameter. Select and apply the necessary material from the Object Materials tab.
Design an Exterior Around Your House
The finishing touch is adding pathways, steps and different decorative elements like roof’s ridges, bainsters, base for the columns, etc. Also, don’t miss out on the opportunity to create a beautiful exterior with the program’s collection of plants and trees.
You can always get more samples of the Japanese houses in our 50 Houses Pack available for purchasing in the embedded store. Get Live Home 3D and check them out!
