Adding a Story and a Roof
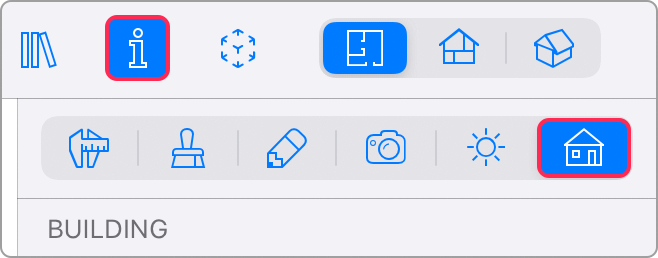
To add a new story or roof, open the Building tab of the Inspector.
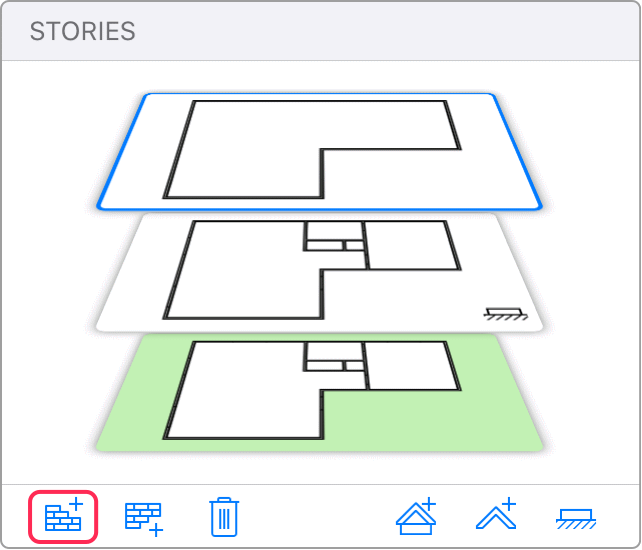
Add a Story
Tap the ![]() icon to add a story above the current, or tap
icon to add a story above the current, or tap ![]() to add a story below the current. The program adds the external walls automatically. You can edit or delete them.
to add a story below the current. The program adds the external walls automatically. You can edit or delete them.
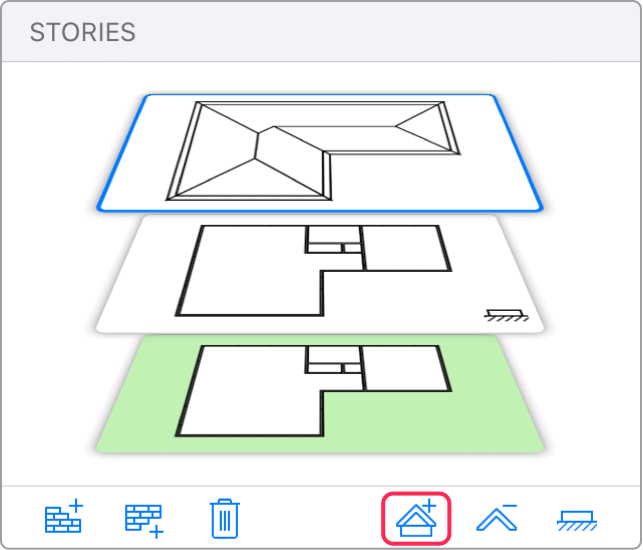
Add a Roof
Tap the ![]() icon to add a roof above the current story, or tap
icon to add a roof above the current story, or tap ![]() to add a roof on the current story. The program will ask you to choose the roof type (e.g. Gable or Mansard).
to add a roof on the current story. The program will ask you to choose the roof type (e.g. Gable or Mansard).
Activate a Story or Roof
The program activates the new story or roof automatically. To edit another story or roof, tap on its thumbnail in the Stories section of the Inspector.