Working with Objects
3D Images
A 3D image is a special object that can show an image in the 3D view. To create it, the app maps a regular image on a vertical surface which always faces the current camera. As a result, the image does not look like a flat object.
3D images can be used to create a background landscape that is visible through a window or door, or to show unimportant or remote objects.
Replacing a 3D object with a 3D image can help you improve the performance of the real-time 3D rendering.
On the floor plan, a 3D image is represented as a circle. An image in the 3D view rotates inside this circle.
Adding and Removing 3D Images
To add a 3D image, activate the 3D view. Open the Menu, choose Import > From Photos and select an image. In a popup panel, select how to limit the image size. For example, if you select "1024", any image that exceeds 1024 pixels per bigger side will be scaled down. Smaller images will keep their original size. Finally, tap on the Import button to add the image to your project.
If you start importing an image when the floor plan is displayed, the app will additionally ask you whether the image should be imported as a 2D or 3D image. You should choose the 3D Image option.
To remove a 3D image, select it and hit the Delete button in the toolbar.
Parameters of 3D Images
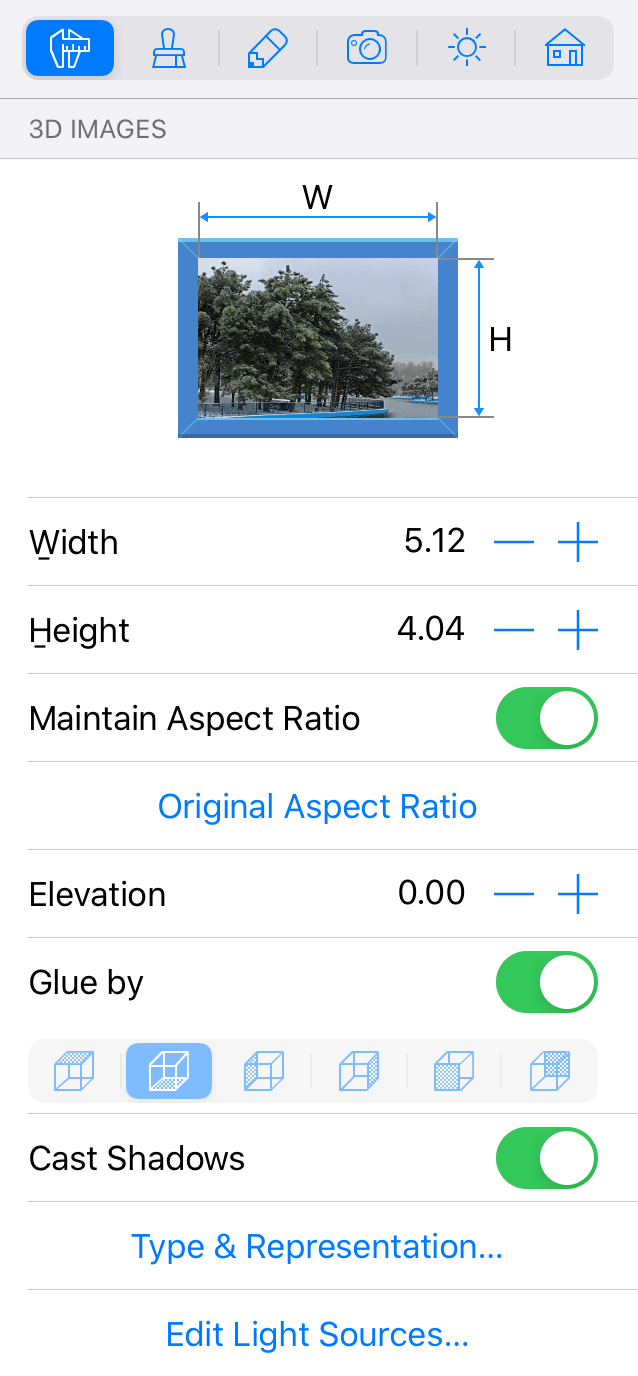
Parameters of 3D images can be found in the Object Properties tab of the Inspector. It allows you to change the object's size and elevation. You can also change the 2D representation and access the Light Source Editor.
